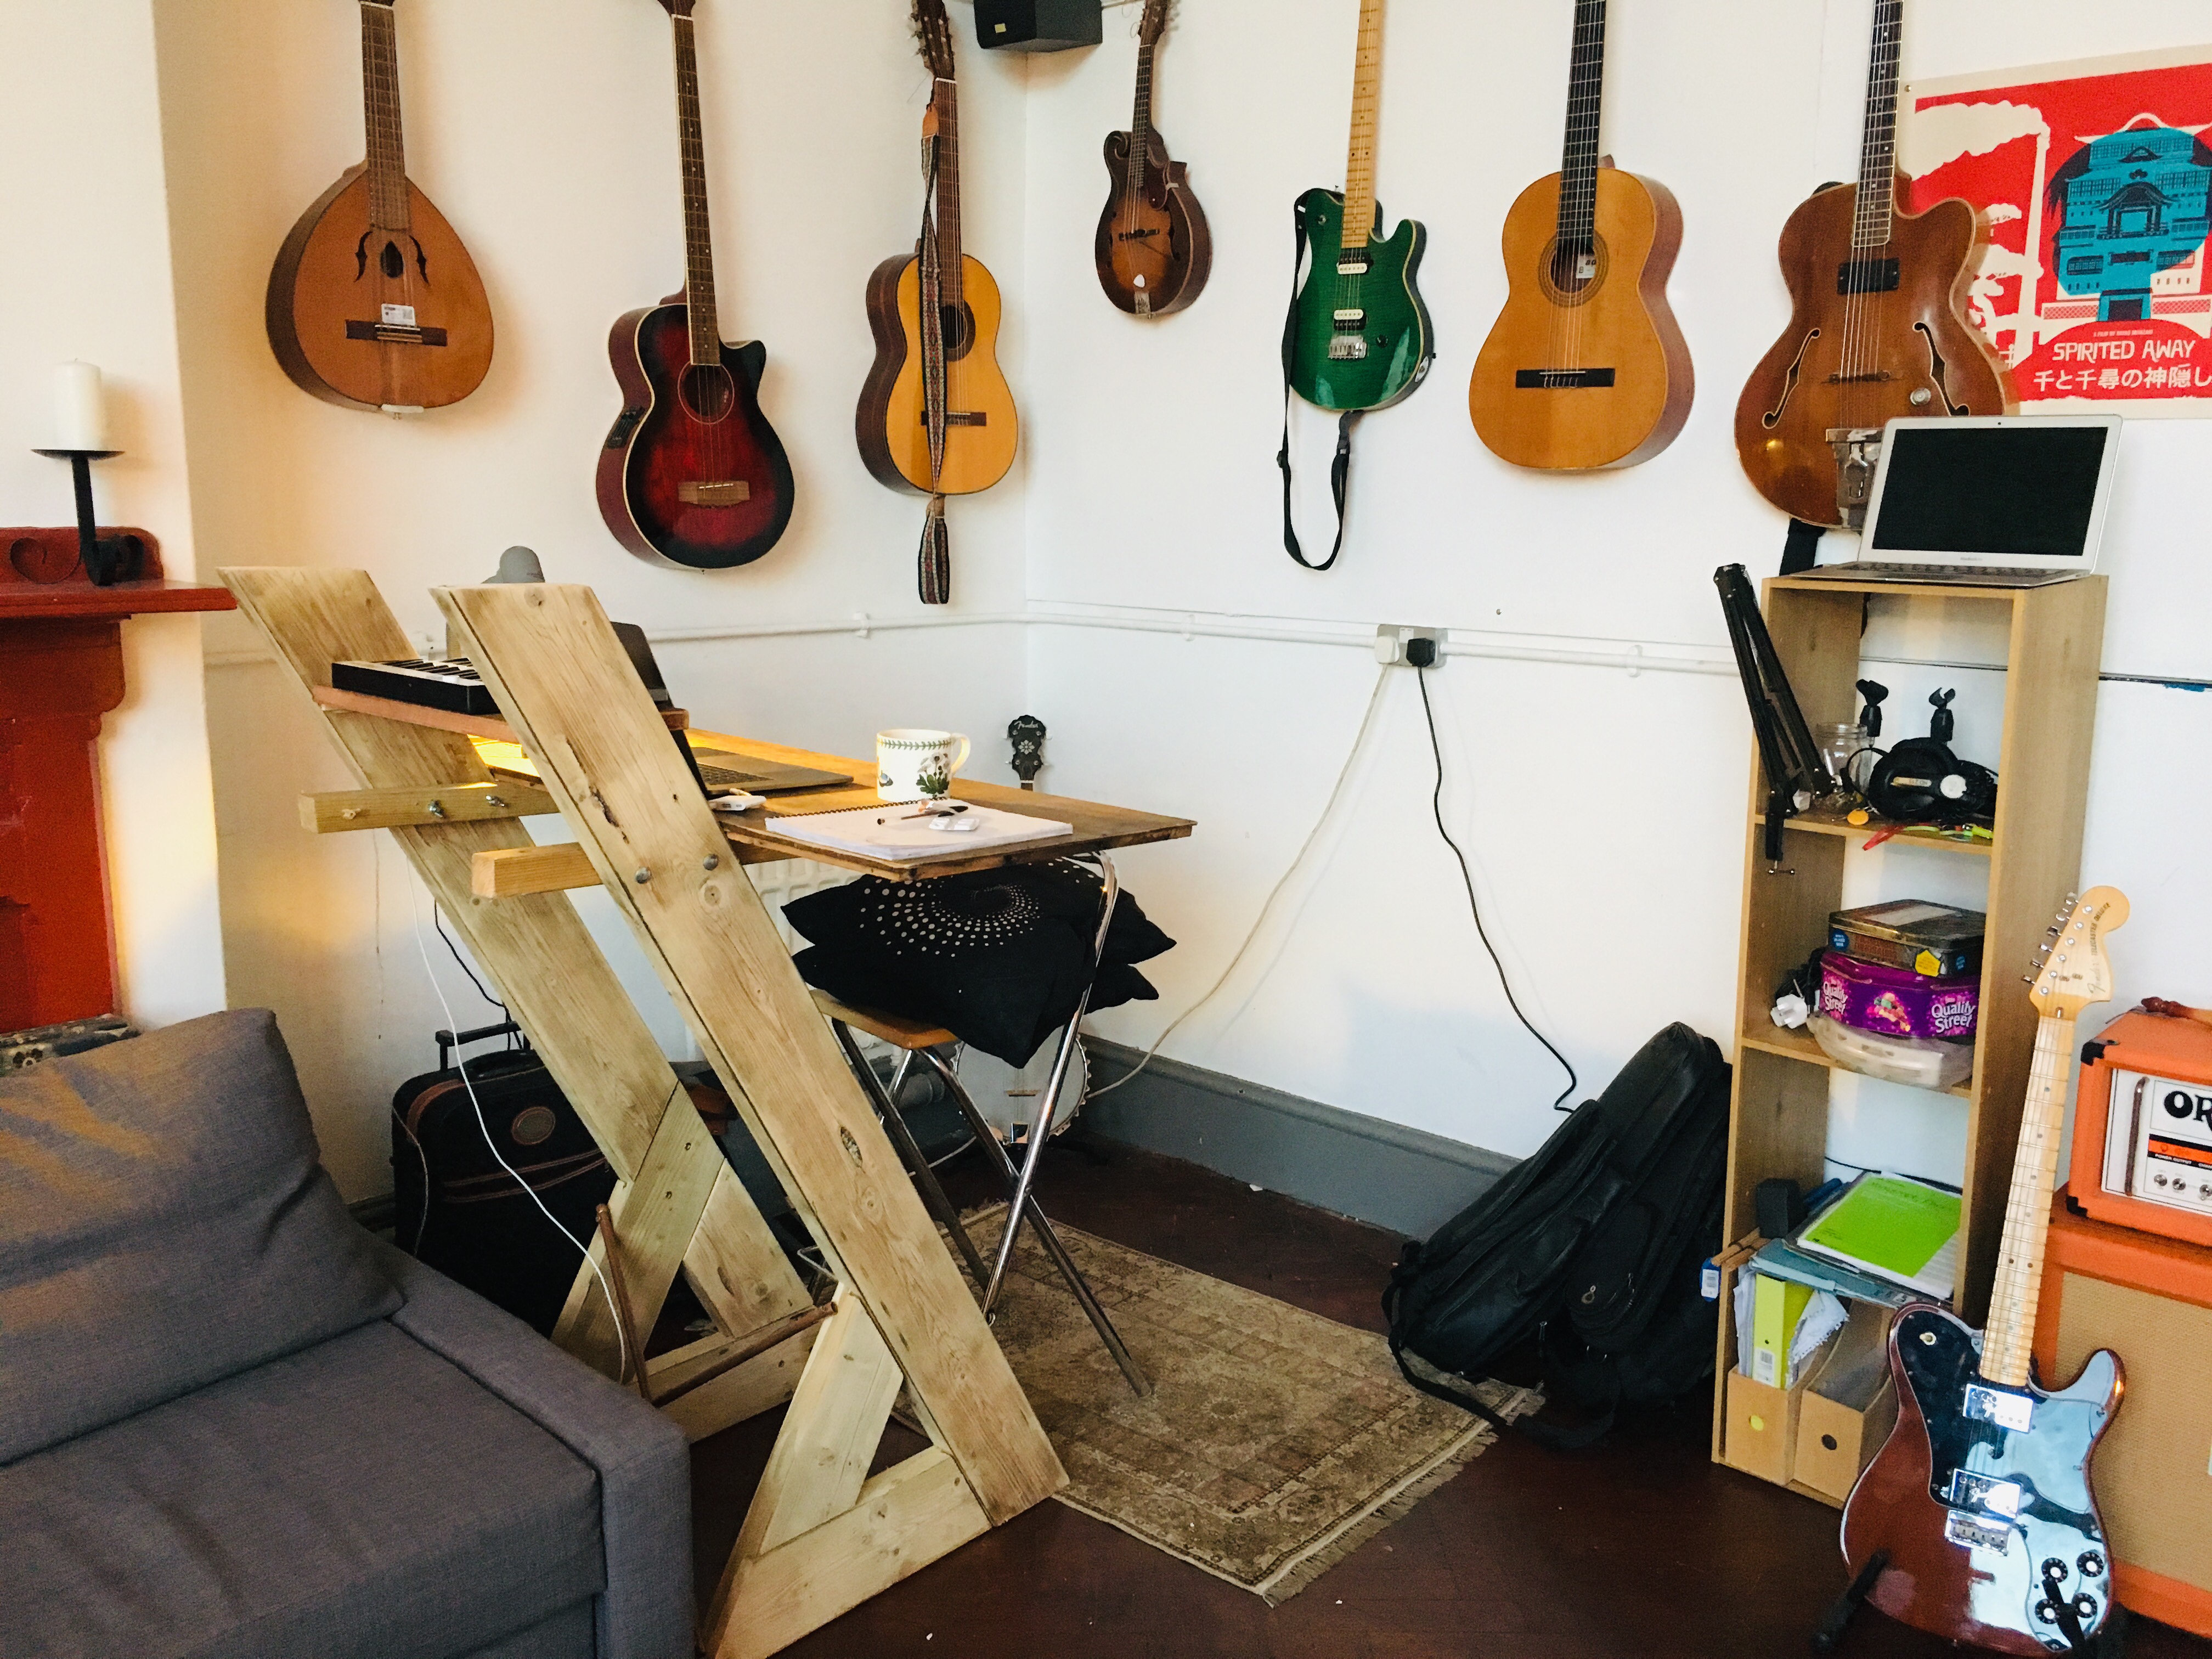
Self-built standing desk
Luke, 7 Feb 2019

Ive got a new work project on, involving medical devices and mobile apps again, and it’s totally remote working this time so Im able to work full-time from my shared office Stroud. Being a new year and all, I was feeling the urge to sort out my health in general and one ideal way of feeling better is to work standing up rather than sitting down. I used to do this a few years back but over the last few years its just not been possible, working out of various other offices.
So new year, and a new start to work life. The only problem was getting a good solution for a standing desk. Ive seen and tried various options and they are often fine but either look a bit crap, or are really expensive, or both. So I designed and built my own. It cost me almost nothing as I had the pieces of wood lying around from other projects – these were about 5m worth of ‘joist’ wood, namely 14.5×4.5cm softwood normally used as flooring support. I can buy these locally and they are affordable, with a 4.8m length (enough for this project) costing about £26. For the desk top and small shelf I had some pieces of an old wardrobe which I had chopped into shape. Then I used 4 fairly long bolts and butterfly nuts to fix the desk top to the legs, and some standard wood screws to fix the legs together. I used two lengths of copper pipe as a brace on the legs to stop the desk wobbling about, and finally some sanding discs to give it a nice smooth finish. All in, if I had to go and buy the bits, it would have cost me around £50 max. Better than the £400+ for a bought solution that doesnt look as nice. Tools wise, I used two sanders (a belt sander, and an orbital), a circular saw, a hand saw, a hammer, some chisels and an electric drill and screwdriver.
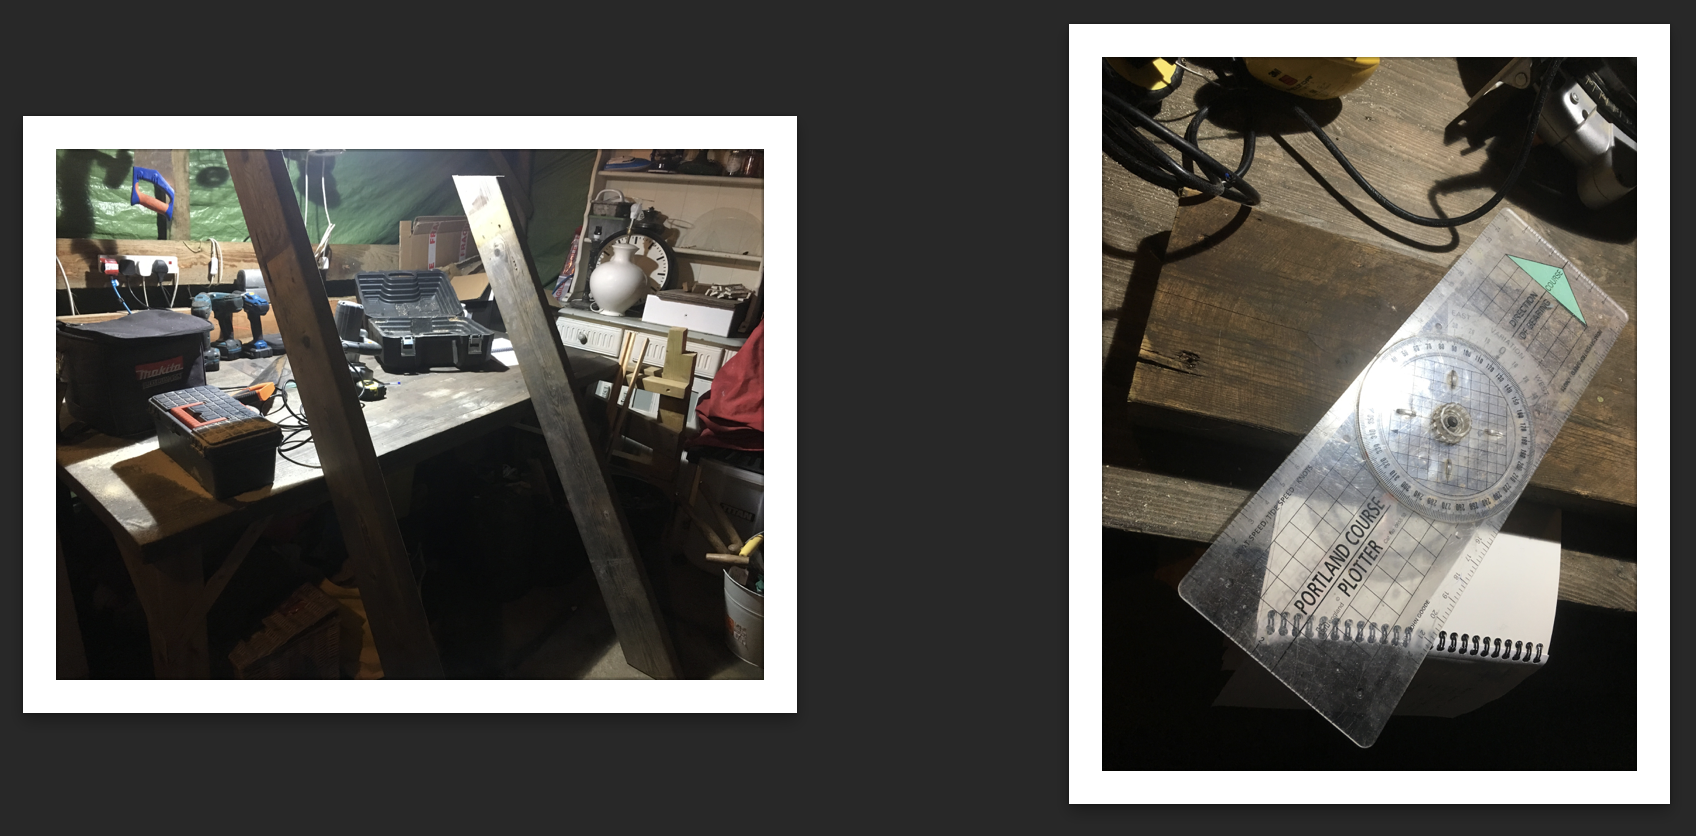
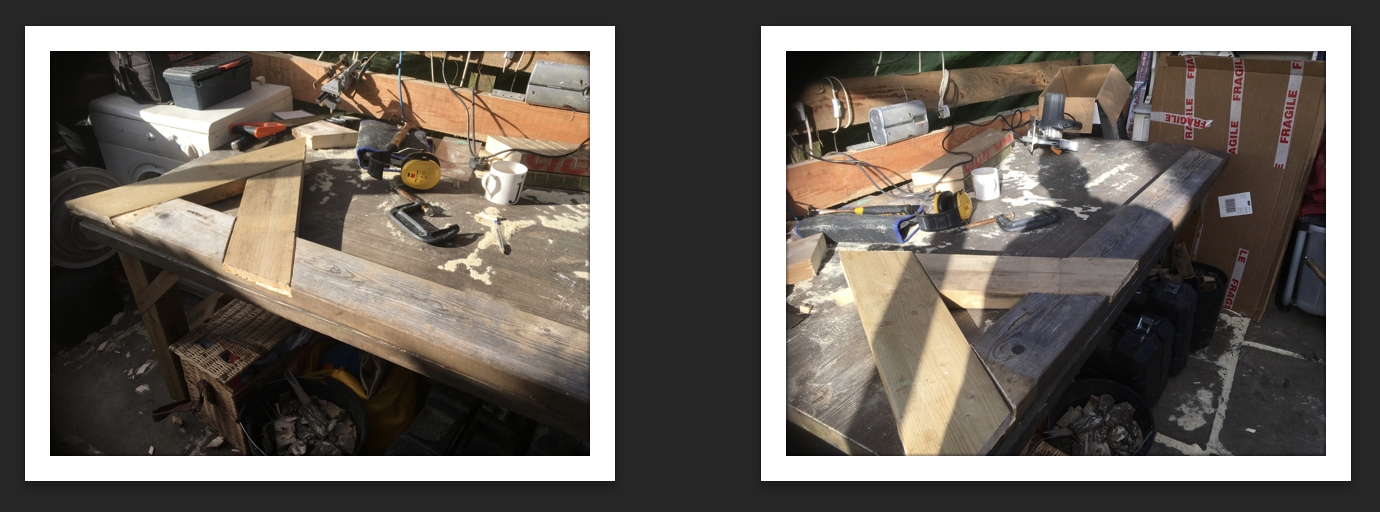
These are the two main uprights, with an angle of 60 degrees (or 120, if measuring the opposite way). To get the angle right I use the above pictured device, which is a baseplate compass, used for drawing bearings on sailing charts. The proper tool to use for this is an angle mitre! But because the baseplate compass also does the job just fine, Ive not bothered buying an angle mitre. In the above left pic you can see the two upright cut to length and both with a 60 degree angle at the top and bottom, though facing opposite directions.
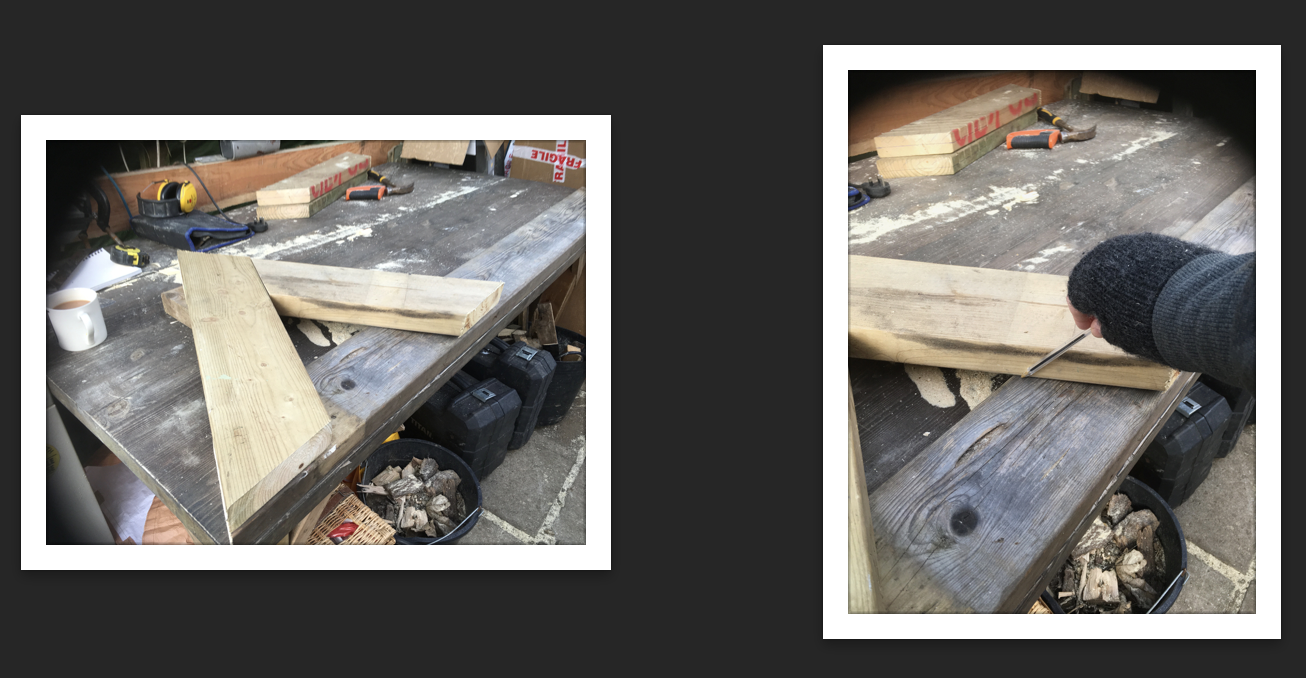
I had two main lengths of timber to support the height of the desk, around 170cm each, and then four main lengths of around 70cm each, to create the triangle shaped supports at the bottom. These create an equilateral triangle, so the angles inside are 60 degrees, or oppositely 120 outside from side to floor. The two main lengths are a parallelogram shape, and the two shorter sides of each triangle are a trapezium shape. In the above picture there you can see where Ive cut the pieces out to shape, and laid them out in the shape they will end up being in. I then draw around these positions to mark out where I need to cut the slots so they fit together nicely.
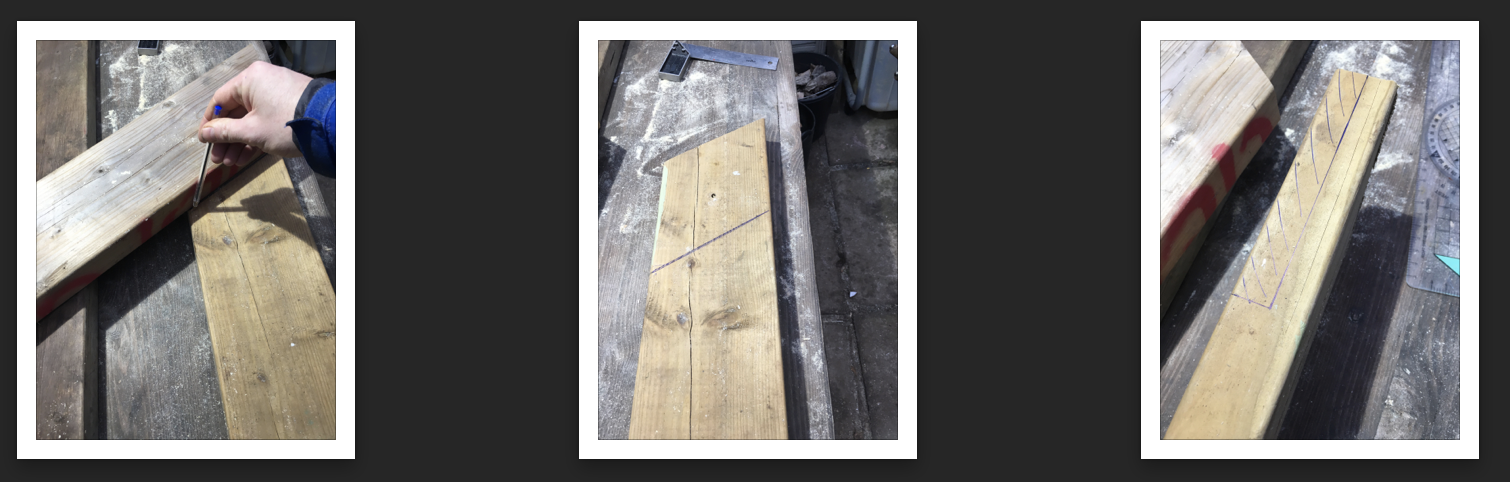
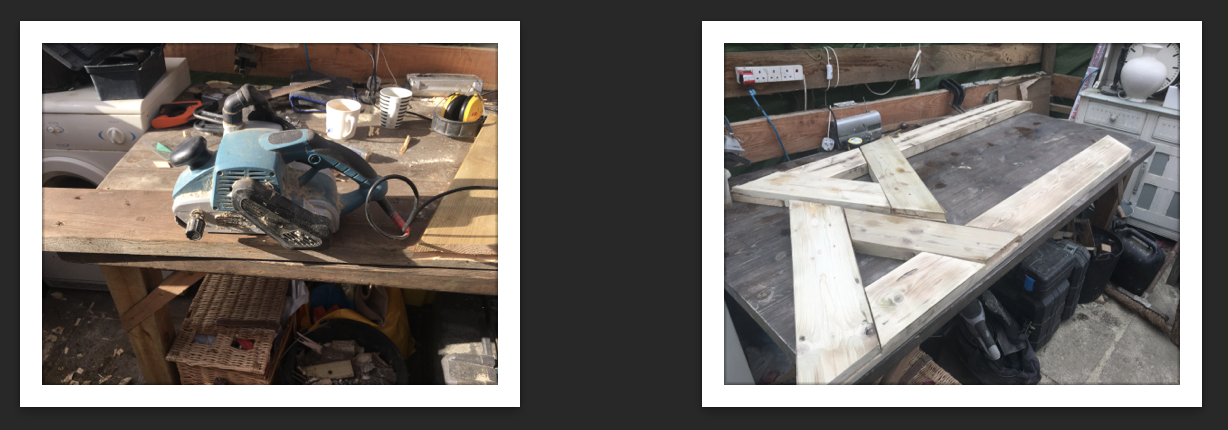
I needed the triangular shapes at the base to slot into each other, sitting flush, so I had to cut out each to a depth of halfway through the joist. I don’t own a band saw so my favourite method for cutting out slots like this is to first ‘score’ the wood using a circular saw, cutting to the exact depth I need, so you end up with the cut lines in the wood seen in the above left photo. Then I chop them out with a chisel, so it ends up looking like the above right pic. If required you can then sand or plane these down to look nice and neat. I don’t always do this, particularly if the results wont be visible – but you do have to ensure you have chiseled out the shapes nice and flat or the pieces wont go together nicely. BTW if you haven’t used a hammer and chisel before, I can honestly say it’s dead easy and really satisfying, honest – especially with softwood like this.
With the pieces cut, and the slots cut, I could then fit the parts together, as you can see in the above two pics. To fix them together I just screwed them together with some nice fat wood screws that were just about the right length. I was really careful to lay these out on a very flat surface when I did this, and was also careful to ensure that both legs had the same angles – desk would be wonky otherwise. By the way – I built the two legs in opposite layouts – this was merely an aesthetic thing, for symmetry.
With the pieces in the right shapes and fixed together, I did a first pass with a belt sander. These are a bit heavier and more violent, but they are great when you’ve got a big length of wood which needs a fair bit taken off the surface, as my two old joists did. They had been sat outside for a year or two and were looking a bit shabby. A good blast with the belt sander took a top layer off and revealed a nice pale larch colour underneath.
The next step was to put the two legs into position, so I could work out how to fit the desk top in place. To do this I got a piece of wood I had lying around, and nailed it to both legs, after deciding how far apart to fit them – I think I went for an arbitrary 47cm in the end. I planned to brace the two legs with two lengths of copper pipe that I had also left over from some plumbing job I had previously. It just looks nice and is strong and slim, as opposed to using another piece of wood for bracing. I cleaned the two lengths up, and drilled a hole at each end and a hole through the middle to fix them together with a small nut and bolt.

At this point, knowing how wide the gap is between the legs, I was able to create the desk top, using as I mentioned, the side from an old wardrobe. It hardly needed any prep – just a quick sand off with an orbital sander. I fixed two lengths of 4.5cm2 timber underneath at the same gap as my legs, so that they fit just inside the upright pieces. Then I held them in place with two G-cramps, while I drilled fat enough holes for the four large bolts that would hold them finally in place.
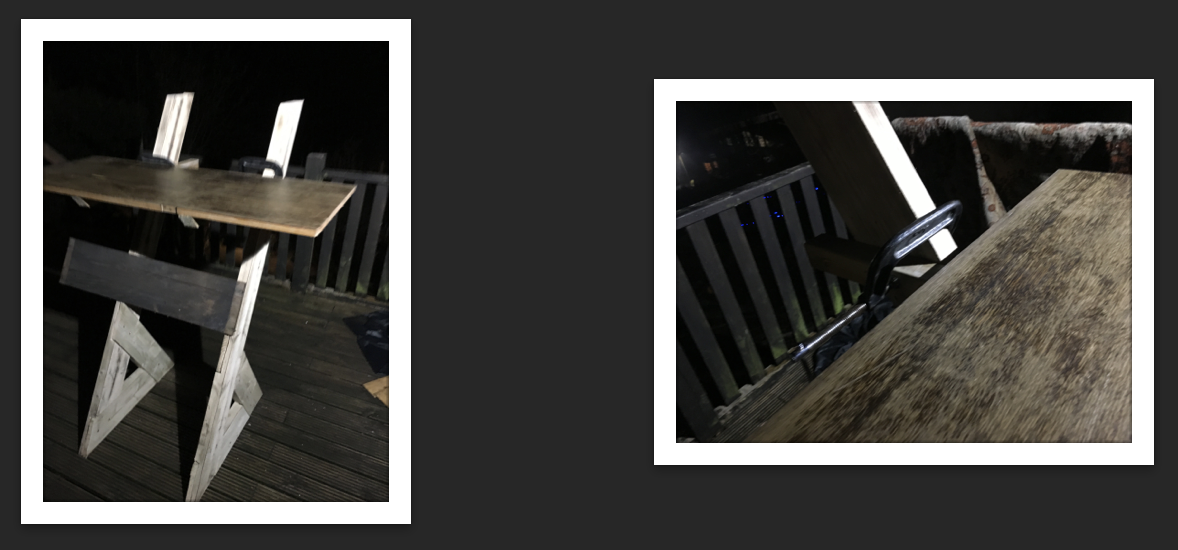
With that done, I fixed the copper bracing pipes into position at the bottom of the legs on the back, and with the bolts inserted to hold the desk top in place, the whole thing felt quite solid – well solid enough! As a final touch I added a small shelf about 16 cms above the desk top. This is to hold a monitor just at eye level, ideal for when standing. Its really simple – just two little lengths of wood fixed to the inside of the uprights, and a short piece of wardrobe again for a little shelf. For the final finish I took an orbital sander to the whole thing and went down to 120 grain to try and get a smooth finish.
Its not perfect by any means but it feels nice to work at. If my legs get tired, Ive got a nice high stool to sit at which works totally fine – there is no need for standing desk solutions that move up and down. A high stool does the job perfectly when you need to sit. Thats it – if you want to make one I can send you a measurement spreadsheet.